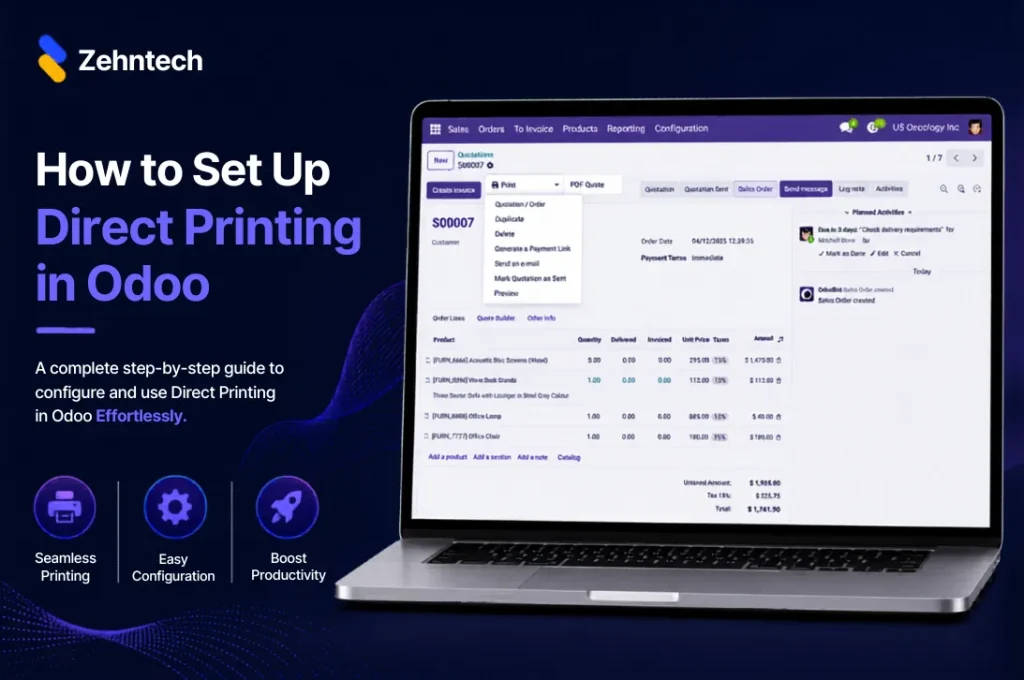
This guide walks you through setting up one-click direct printing in Odoo using the Zehntech Odoo Direct Print app — from creating your PrintNode account to your first print without a download dialog. Most setups take 10–15 minutes.
How Direct Printing in Odoo Works
The Zehntech Direct Print app uses PrintNode as the bridge between Odoo and your physical printers. PrintNode is a cloud printing service. It runs a lightweight client on the computer connected to your printer. This client then receives print jobs from Odoo and sends them to the local printer.
First, you need three things:
- A free PrintNode account (printnode.com)
- The PrintNode client installed on the computer physically connected to your printer
- Your PrintNode API key
Once you configure it, Odoo sends print jobs directly to PrintNode, which routes them to the correct printer instantly.
Prerequisites
- Odoo version: v16, v17, v18 or v19 (Online, Odoo.sh or On-Premise)
- PrintNode account: Free at printnode.com (free tier: 50 pages/month; paid plans from $5/month)
- Computer connected to printer: Windows, Mac or Linux computer with the PrintNode client installed
- Network access: Odoo instance must be able to reach the PrintNode API (internet access required)
Step 1 — Create a PrintNode Account
- First, go to printnode.com
- Then click Start for Free → create your account with email and password
- Next, verify your email address
- Finally, log into your PrintNode dashboard
Step 2 — Install the PrintNode Client
The PrintNode client is the software that runs on the computer connected to your printer and listens for print jobs from PrintNode’s cloud service.
- First, click Downloads in your PrintNode dashboard
- Then download the client for your operating system (Windows, Mac or Linux)
- Next, install and launch the PrintNode client
- After that, sign in to the client with your PrintNode account credentials
- Finally, the client connects automatically, so your connected printers appear in the PrintNode dashboard under Printers
Verify: You should now see your printer(s) listed with a green status indicator in your PrintNode dashboard.
Step 3 — Get Your PrintNode API Key
- First, click your account name (top right) in the PrintNode dashboard → API Keys
- Then click Create API Key
- Next, name it (for example, “Odoo Integration”) and click Create
- Finally, copy the API key, because you need it in Step 5
Important: Store this key securely. However, you can generate a new one at any time from the same screen.
Step 4 — Install the Zehntech Direct Print App
- First, go to Apps in Odoo
- Then search for
zehntech_direct_print - Finally, click Install
Installation takes under 1 minute. No restart required.
Step 5 — Enter Your PrintNode API Key in Odoo
- First, go to Settings → Technical → Direct Print in Odoo (or search “Direct Print” in Settings)
- Next, paste your API key from Step 3 into the PrintNode API Key field
- Then click Save & Connect
- Finally, a green confirmation should appear — “Connected to PrintNode”
If you see an error:
- Verify the API key was copied completely (no spaces)
- Check that the PrintNode client is running on the connected computer
- Confirm your Odoo instance has outbound internet access to reach the PrintNode API
Step 6 — Verify Your Printers Appear in Odoo
- After a successful connection, go to Settings → Direct Print → Printers
- Then your printers (as registered in PrintNode) should appear in the list
- Also, each printer shows its name, connection status and associated computer
If a printer is missing: return to your PrintNode dashboard and verify the printer shows with a green status. If it shows as offline, ensure the PrintNode client is running on the connected computer and the printer is powered on.
Step 7 — Configure Document Routing Rules
Routing rules tell the app which printer to use for each document type. As a result, users do not need to select a printer.
- First, go to Settings → Direct Print → Routing Rules
- Then click Add a line for each rule:
- Document type: Select from the list (Invoice, Delivery Order, Purchase Order, Picking Slip, etc.)
- Printer: Select the printer from your connected printers
- User (optional): Apply rule to all users or a specific user
- Finally, save
Example routing setup:
- Invoices → Office Printer (HP LaserJet)
- Delivery Orders → Warehouse Printer (Zebra ZT411)
- Shipping Labels → Label Printer (Zebra ZD420)
Step 8 — Test with a Document
- First, open any Odoo document covered by your routing rules (for example, an invoice)
- Then click Print
- As a result, the document should print directly on the configured printer — no download, no dialog
If the document doesn’t print:
- First, check that the routing rule for that document type is saved and active
- Then verify the PrintNode client is running on the connected computer
- Finally, check the PrintNode dashboard → Print Jobs to see if the job was received
User-Level Printer Preferences
Individual users can set their own default printer:
- First, the user goes to Settings → Preferences (their user profile)
- Then, under Direct Print, they select their preferred default printer
- As a result, documents without a routing rule default to this printer
PrintNode Free vs. Paid
| Plan | Pages/Month | Cost |
|---|---|---|
| Free | 50 | $0 |
| Hobbyist | 1,000 | $5/month |
| Professional | 10,000 | $10/month |
| Business | Unlimited | $20/month |
However, for most warehouse and finance teams printing dozens of documents daily, the Professional or Business plan is appropriate. The free tier is suitable for testing and very low-volume use.
Frequently Asked Questions
Does the PrintNode client need to run continuously?
Yes. The PrintNode client must run on the connected computer to receive print jobs. For example, on Windows you can set it to start automatically with Windows. On a dedicated print server, it should run as a service.
What support is included?
You receive 90 days of free support from odoo-support@zehntech.com — covering installation, PrintNode account setup, printer configuration and routing rules.
Direct printing in Odoo in under 15 minutes
Custom Odoo direct printing integration: $1,000–$3,000+. Zehntech Odoo Direct Print: Free. Live in under 15 minutes. Browse more Odoo apps from Zehntech.
Install the Odoo Direct Print App — Free → https://apps.odoo.com/apps/modules/19.0/zehntech_direct_print
Working on Odoo?
Talk to the engineers who build Odoo systems and apps every day.