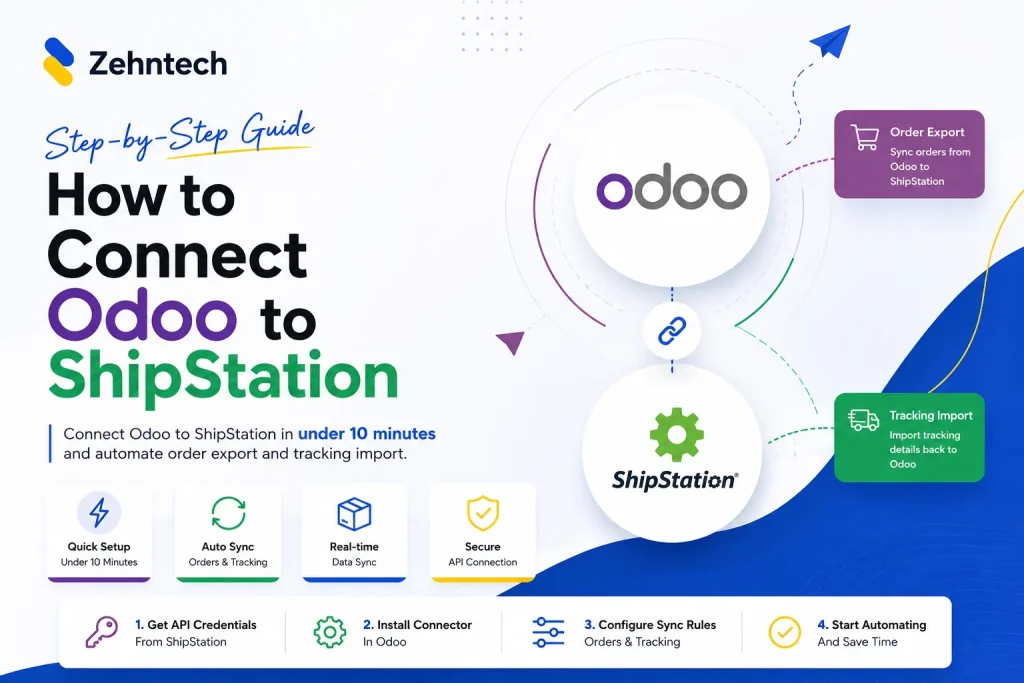
If your sales orders and stock live in Odoo but your team prints labels in ShipStation, you should connect Odoo to ShipStation. Otherwise, someone is probably copying data between the two. Order details go one way. Carrier choices, package sizes and shipped status come back the other way, often by hand.
That works at ten orders a day. At a hundred it causes mistakes a wrong address, a delivery order still marked “Ready” in Odoo after the parcel left, or a salesperson who can’t tell a customer whether their order has shipped.
This guide shows how to connect Odoo to ShipStation with the Zehntech ShipStation Odoo Connector. It follows the connector’s official admin guide, so the menu names and buttons below match what you’ll see on screen.
Quick answer: To connect Odoo to ShipStation, install the Zehntech ShipStation Odoo Connector, create a ShipStation Instance with your ShipStation API Key and Secret Key, and click SYNC. Then import carriers, services and packages, create shipping methods, and export delivery orders to ShipStation, either by hand or with scheduled jobs. Imports, exports and API calls are recorded in the Operations Log.
What Is Odoo ShipStation Integration?
Odoo handles the business side: quotations, sales orders, stock and invoicing. ShipStation handles the shipping side: carrier accounts, rate shopping and label printing.
An Odoo ShipStation integration connects the two so each system does its own job and data moves between them automatically. The basic flow looks like this:
Odoo → ShipStation → Carrier/Fulfillment → Delivery completed in Odoo
With the Zehntech connector, the following data moves between the systems:
- From ShipStation to Odoo: stores (marketplaces), carriers, carrier services, package types, products, and shipping rates for a chosen shipping method
- From Odoo to ShipStation: delivery orders, with the package and service you selected in Odoo, and the confirmation type set on the shipping method
- Back in Odoo after shipping: delivery orders can be moved from Ready to Done with the Validate operation. This happens inside Odoo. The connector doesn’t pull shipped status or tracking numbers from ShipStation.
What You Need Before You Connect Odoo to ShipStation
| Requirement | Details |
|---|---|
| Odoo version | 17, 18 or 19 |
| Odoo edition | Community or Enterprise |
| Hosting | Odoo.sh or On-Premise |
| Required Odoo apps | Contacts, Inventory, Delivery, Manufacturing, Sales, Invoicing (installed automatically as dependencies) |
| ShipStation | An active ShipStation account with at least one store and connected carrier |
| ShipStation credentials | Your ShipStation API Key and Secret Key (the connector uses ShipStation’s V1 API) |
| The connector | Zehntech ShipStation Odoo Connector (zehntech_shipstation_connector), $95.00 one-time on the Odoo Apps Store |
| Optional | Odoo Website app, if you want ShipStation rates shown at online checkout |
In ShipStation, you usually generate API keys under the account’s API settings. ShipStation limits API access by plan, so check that your plan includes it before you begin.
Step 1: Install the Zehntech ShipStation Connector
First, get the module from the Odoo Apps Store by searching for ShipStation Odoo Connector or the technical name zehntech_shipstation_connector. Pick the build that matches your Odoo version.
Installation steps depend on your Odoo edition. Pick the one you use.
Odoo Community
Community runs on your own server (On-Premise).
- Download the module from the Odoo Apps Store.
- Copy the
zehntech_shipstation_connectorfolder into your Odoo addons folder. - Restart the Odoo server.
- In Odoo, turn on Developer Mode (Settings → Activate the developer mode).
- Go to Apps and click Update Apps List.
- Search for ShipStation, then click Activate.
Odoo Enterprise
Enterprise can run on your own server (On-Premise) or on Odoo.sh.
On-Premise: follow steps 1–6 from the Community section above. They’re the same.
Odoo.sh:
- Download the module from the Odoo Apps Store.
- Add the
zehntech_shipstation_connectorfolder to your Odoo.sh project’s Git repository. - Commit and push. Odoo.sh builds your branch automatically.
- When the build finishes, open that database, turn on Developer Mode, and go to Apps → Update Apps List.
- Search for ShipStation, then click Activate.
What to check after installation:
- A new ShipStation item appears in the main menu.
- The dependent apps (Sales, Inventory, Invoicing and the others) are installed.
- Delivery orders now have a ShipStation Info tab
Step 2: Connect Odoo to ShipStation with an Instance
To connect Odoo to ShipStation, you create an instance. An instance is Odoo’s record of one ShipStation account. The connector supports several instances, so you can connect more than one ShipStation account to the same Odoo database.
- Go to ShipStation → ShipStation Instance and click New.
- Enter your ShipStation key in the ShipStation API Key field.
- Enter the matching secret in the ShipStation Secret Key field.
- Click Save.
- Click SYNC. Confirm the pop-up message, then close the success message with OK.
How to confirm the connection works: if SYNC finishes with a success message and the instance’s smart buttons fill with ShipStation data, your credentials are correct. Click More on the instance to see all smart buttons. Under Connections → Marketplaces you’ll see the stores pulled from your ShipStation account.
A note on credential security: the Secret Key is hidden (shown as dots) on the form, but the API Key is shown in plain text. Any internal user who can open the ShipStation Instance screen can see and change both. If only admins should see your ShipStation credentials, restrict access to this menu with an Odoo access group.
Sync settings on the instance: open the instance again and click Configure Schedulers. There are two options:
- Export Order: sends delivery orders to ShipStation on a schedule
- Validate Order: completes ready delivery orders in Odoo on a schedule.
Tick the ones you want, pick an interval from the dropdown and click Save.
Step 3: Import Carriers, Services and Package Types
Next, Odoo needs to know the carriers, service levels and package types that exist in your ShipStation account. Without them you can’t pick a real service (such as USPS Priority Mail) on an order or request an accurate rate.
- On the instance, click the Carrier smart button. You’ll see the carriers fetched from ShipStation.
- Open a carrier.
- Click Get Services to import that carrier’s service levels, then OK.
- Click Get Packages to import that carrier’s package types, then OK.
- Click Create Shipping Methods to create matching shipping methods in Odoo, then OK.
Repeat for each carrier you use.
How this is used later: the shipping methods you create here are what you choose on sales orders (Add shipping → Shipping Method → Get rate). The imported packages appear in the Package field on delivery orders.
Delivery confirmation type: open the shipping method in Inventory → Configuration and set its Confirmation field to None, Delivery or Signature. This applies to every delivery order that uses that shipping method. You don’t choose it per order.
Weight units: go to ShipStation → Weight Mapping and map each Odoo weight unit to the matching ShipStation unit, so product weights reach ShipStation in the unit it expects. Rates are calculated from weight, so check this before you request your first rate.
Step 4: Sync Products Between Odoo and ShipStation
Products are synchronised from the ShipStation Operations wizard. You’ll also use this wizard for the bulk order actions later.
To import products from ShipStation into Odoo:
- Go to ShipStation → Operations → ShipStation Operations.
- Select the Instance.
- In the operation dropdown, choose the product import operation.
- Set a Start Date and End Date to limit which ShipStation products are imported.
- Tick the checkbox to auto-create products in Odoo if you want missing products to be created.
- Click Execute.
The result shows a summary such as “Product import completed: 13 new, 49 updated.” You can review imported items under ShipStation → ShipStation Products.
Export Products from Odoo to ShipStation
To export products, run the same wizard with the export product operation. This downloads a CSV file of your Odoo products that you then import into ShipStation. It doesn’t push each product through the API. The file includes every product in your Odoo database, not just saleable or ShipStation-linked ones. If your catalogue has items you don’t ship (services, discounts and so on), remove them from the file before you import it into ShipStation.
How Products Are Matched
On import, the connector pulls the product name, SKU, ShipStation product ID, fulfillment SKU, price, length/width/height and weight into Odoo. A ShipStation product is matched to an existing Odoo product by its SKU (Internal Reference) or by its ShipStation product ID. If neither matches, a new product is created only when the auto-create option is ticked; otherwise it’s skipped. Before your first import, check that your SKUs are the same in both systems, then review the import summary and ShipStation Products to confirm products matched as expected.
Automation: only order export and order validation can be scheduled.
Step 5: Export Delivery Orders to ShipStation
This is the main part of the Odoo shipping integration. After you connect Odoo to ShipStation, the flow is:
Sales order → Delivery order → Export to ShipStation → Label printed and shipped in ShipStation → Completed in Odoo
Manual export (recommended for your first test)
- Create a sales order in Sales. Add the customer and products.
- In the Store field, select the ShipStation store the order belongs to.
- Click Add shipping, choose a Shipping Method you created in Step 3, click Get rate, then Add.
- Confirm the order. Odoo creates the delivery order.
- Open the delivery order from the smart button and go to the ShipStation Info tab.
- Choose a Package.
- Click Get Rates, then Use Service on the rate you want.
- Tick Export order to ShipStation, which makes the Export to ShipStation button visible. Click Save.
- Click Export to ShipStation.
The order now appears in ShipStation, where your team prints the label and ships it. Labels are created in ShipStation. The connector sends the order there ready to be labelled.
Bulk and automated export
- Bulk: go to ShipStation → Operations → ShipStation Operations and run Export Delivery Orders to send many delivery orders at once.
- Scheduled: turn on Export Order under Configure Schedulers on the instance.
- By sales team: go to Sales → Configuration → Sales Teams, open a team and use the ShipStation tab to set it up:
- Export order to ShipStation: that team’s delivery orders are exported automatically by the scheduled job
- ShipStation Store: the default store
- A default shipping method (for example, USPS Priority Mail)
- Update Carrier based on ShipStation shipments: updates the carrier on the Odoo record to match what ShipStation actually used.
Sales users can then pick the right sales team on each order, and delivery orders for that team go to ShipStation without anyone opening them.
Step 6: Generate or Manage Shipping Information
Here is where each piece of shipping information lives once you connect Odoo to ShipStation and the connector is running:
| Task | Where it happens |
|---|---|
| Choosing a carrier service | Odoo: shipping methods created from imported ShipStation services |
| Getting a shipping rate | Odoo: Get rate on the sales order, Get Rates on the delivery order |
| Choosing a package | Odoo: Package field on the delivery order’s ShipStation Info tab |
| Setting the confirmation type | Odoo: Confirmation field on the Shipping Method (Step 3) |
| Printing the label | ShipStation |
| Completing the delivery in Odoo | Odoo: Validate Delivery Orders operation or the Validate Order scheduler |
Shipping labels print from ShipStation, but your warehouse will still print Odoo documents such as delivery slips and picking lists. To send those straight to a printer without the download-and-print step, see how to set up direct printing in Odoo.
What Validate Does and Does Not Do
The Validate Delivery Orders operation doesn’t ask ShipStation whether a parcel has shipped, and it doesn’t import a tracking number. It picks up Odoo delivery orders that are Ready (or can be reserved) and have a ShipStation carrier, and marks them Done. In the current version it doesn’t stop when quantities haven’t been filled in. Its results also aren’t written to the Operations Log.
In practice, that means:
- Run it only after your team has shipped the orders in ShipStation. ShipStation is where you confirm an order has actually shipped.
- Check the quantities on delivery orders before validating, and spot-check stock levels afterwards.
- Keep the Validate Order scheduler off at first and run the operation by hand until you’re comfortable with how it behaves in your database.
Rates at website checkout: if you use Odoo Website, you can publish a ShipStation shipping method under Delivery Methods. Customers then see live ShipStation rates for that method at checkout.
Step 7: Track Synchronization and Operation Logs
Go to ShipStation → Operations → Operations Log. Product and order imports, exports and sync API calls made by the connector are listed there. Validate Delivery Orders is the exception: it doesn’t write to this log in the current version. Check its results on the delivery orders themselves and in your stock levels.
Check the log when:
- A sync fails: the log entry shows which operation failed and the error that came back.
- An API request fails: you’ll see whether ShipStation rejected the request, which usually points to credentials, a missing store or invalid order data.
- Data doesn’t sync: if a product or order isn’t where you expect it, check whether the operation ran at all and what result it returned.
- You need to troubleshoot with support: a log entry gives Zehntech’s support team the exact operation, time and error to look at.
A good habit for the first few weeks: check the Operations Log once a day until you trust the scheduled export job. It’s also where you confirm an order actually reached ShipStation. Tracking numbers and shipped status stay in ShipStation.
How the Workflow Works After You Connect Odoo to ShipStation
Odoo → ShipStation → Carrier → Shipment → Tracking (in ShipStation) → Odoo
- Odoo: A sales order is confirmed and Odoo creates a delivery order with store, service and package details.
- ShipStation: The delivery order is exported manually, in bulk or on a schedule, and appears in ShipStation.
- Carrier: Your team compares rates if needed and prints the label for the chosen carrier service in ShipStation.
- Shipment: The parcel leaves the warehouse and ShipStation marks the order as shipped.
- Tracking: The tracking number is stored in ShipStation. The connector doesn’t copy it into Odoo in this version.
- Odoo: Your team runs the Validate operation, or the scheduler runs it, and the matching delivery order is marked Done. It doesn’t check ShipStation first, so run it after the orders have shipped.
Frequently Asked Questions
Can Odoo integrate with ShipStation?
Yes. Odoo doesn’t connect to ShipStation out of the box, but a connector module such as the Zehntech ShipStation Odoo Connector links the two through ShipStation’s API. You can then sync stores, carriers, products and delivery orders.
How do I connect Odoo to ShipStation?
Install the connector, go to ShipStation → ShipStation Instance, create a new instance with your ShipStation API Key and Secret Key, save it, and click SYNC.
What Odoo versions does the connector support?
The connector supports Odoo 17, 18 and 19, in both Community and Enterprise editions, on Odoo.sh or On-Premise. Odoo Online is not supported.
Can I synchronize products between Odoo and ShipStation?
Yes, but manually in this version. You can import products from ShipStation into Odoo using the ShipStation Operations wizard. It offers a date range and an option to auto-create missing products. The import syncs the name, SKU, price, dimensions and weight. Exporting products from Odoo creates a CSV file to import into ShipStation. There’s no scheduled job for products yet.
If your team uses Odoo for sales and inventory and ShipStation for shipping, then the Zehntech ShipStation Odoo Connector can bring the two workflows together. You can get it on the Odoo Apps Store or talk to Zehntech about your Odoo integration requirements.
Working on Odoo?
Talk to the engineers who build Odoo systems and apps every day.