Most manufacturing teams assume that manufacturing Gantt scheduling requires custom development, a separate tool, or both. In reality, the setup takes under 10 minutes inside Odoo. The system also works immediately with your existing manufacturing data.
Here is exactly how to go from install to your first production schedule.
Prerequisites — You Already Have These
- Odoo version: v16, v17, v18, or v19
- Modules enabled: Manufacturing (mrp), Inventory (stock), and Discuss (mail) — all standard in any Odoo install
- No base Gantt app required — the Advanced Gantt for Manufacturing is standalone
- No external tools — everything runs inside Odoo
If you have a working Odoo instance with the Manufacturing module already enabled (because you’re using Odoo for production planning), you meet the requirements.
Step 1: Install the Manufacturing Gantt Scheduling App — 1 Minute
First, navigate to Apps in Odoo. Search for "advanced_gantt_manufacturing" or "zehntech_advanced_gantt".
Then click Install on the Zehntech app. The system prompts you to restart. Let it restart, because this takes only 30 seconds.
That is it. The app is now live on your instance.
Step 2: Configure Your First Work Center — 3 Minutes
First, navigate to Manufacturing → Work Centers.
Then select or create a work center (e.g., “CNC Machining”).
Fill in the configuration:
- Work Center Name: The machine identifier (e.g., “CNC-1”, “Assembly Line A”)
- Capacity: How many units (or hours) this machine can process per day. E.g., “1000 units/day” or “8 machine-hours/day”
- Operating Hours: When the machine is available. E.g., 08:00–17:00.
- Shift Schedule: If you run multiple shifts, define each shift separately (Shift 1: 08:00–16:00, Shift 2: 16:00–00:00)
- Operators Assigned: Which Odoo employees are assigned to this work center
Next, save. Then repeat for each machine/work center you want to schedule.
Why this matters: The Gantt timeline uses these definitions to calculate capacity. It also shows which operators are available across your schedule.
Step 3: Create Test Work Orders — 3 Minutes
Create a simple manufacturing order for testing:
- Product: Pick any product (e.g., Widget A)
- Quantity: 5 units
- Routing: Assign a routing with 3–4 work orders across 2–3 machines
The system generates work orders automatically based on the routing. Then assign operators to each work order.
Next, set a start date (for example, tomorrow) for the manufacturing order.
Finally, save and confirm the manufacturing order.
Step 4: Open the Advanced Gantt View — Immediate
First, open the manufacturing order you just created.
In the top-right corner of the screen, you see a row of view options:
- List (default)
- Kanban
- Calendar
- Advanced Gantt ← Click this
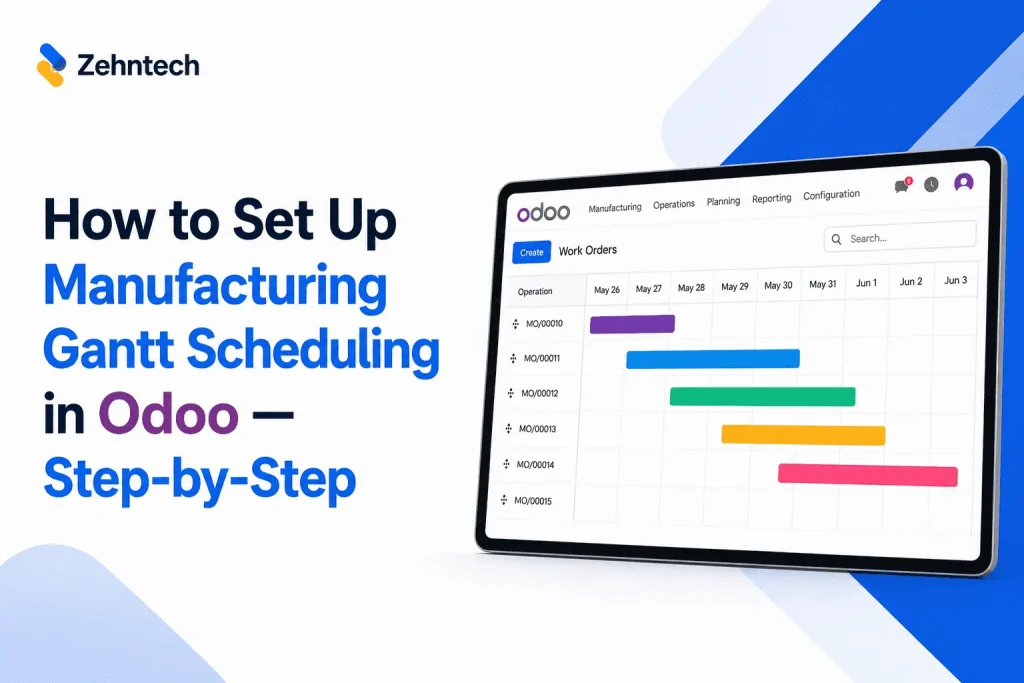
The timeline appears immediately. Also, your test work orders show as bars on the Gantt.
You should see:
- Work order bars for each manufacturing task
- Bars organized by work center (Machine A, Machine B, etc.)
- Capacity bars on the right showing machine utilization
- Operator assignments color-coded
All of this fills in automatically from the work center configuration and work order assignments you just entered.
Step 5: Drag-and-Drop Rescheduling — Test It Now
First, click and drag any work order bar to a new time slot.
Notice: The work order’s start and end date change automatically in the Odoo database. You get no confirmation screen and no separate form entry. As a result, the Gantt and Odoo stay in sync.
Then drag a second work order. Watch the dependent tasks (if you have dependencies) cascade and adjust.
That’s the power of the system: Drag-and-drop rescheduling is real-time, and Odoo’s database reflects the change immediately.
Step 6: Watch Capacity Bars Change — Real-Time Visualization
First, look at the capacity bar for the work center where you just dragged the work order.
Color meanings:
- Green: Machine is under 100% capacity (available)
- Amber: Machine is 100–120% capacity (approaching full)
- Red: Machine is 120%+ capacity (overloaded)
If you dragged a work order to a machine that is now in red, try dragging one of the lower-priority work orders to a different machine or time slot. Watch the capacity bar shift from red back to green.
This is real-time capacity balancing. When you move one task, the system recalculates machine utilization instantly.
Step 7: Enable Multi-Shift View (If You Run Multiple Shifts)
If your work centers have multiple shifts, the timeline shows all shifts on the same Gantt automatically.
- Shift 1 (08:00–16:00): Tasks appear in this band
- Shift 2 (16:00–00:00): Tasks appear in this band
The Gantt consolidates operator workload across both shifts. As a result, you can see (and resolve) conflicts where an operator is assigned to overlapping tasks in Shift 1 and Shift 2.
Step 8: Move From Test Data to Real Production Orders
Once you feel confident with the test order, import your real manufacturing orders:
- Option A: Create manufacturing orders directly in Odoo (if using MRP module for production planning)
- Option B: Import via .CSV (if you have existing production orders in a file)
- Option C: Migrate from your existing scheduling system (support team can help)
All real manufacturing orders appear on the Gantt immediately. You see capacity conflicts, bottlenecks, and cascade issues instantly.
Troubleshooting: If Work Orders Don’t Appear on the Gantt
Check your work orders
Check 1: Are the work orders assigned to a work center?
- Open the manufacturing order form and check the Routing. Each work order must reference a work center configured in Manufacturing → Work Centers.
Check 2: Do the work orders have start dates?
- Open each work order. Confirm it has a Scheduled Date or Due Date field populated. Undated work orders won’t appear on the Gantt.
Check 3: Are operators assigned?
- Each work order should have an operator assigned. If a work order has no operator, it may appear dimmed or not at all (depending on your filter settings).
Check 4: Is the Gantt view filter set correctly?
- In the top-left, check the Active Records filter. If it’s filtering out cancelled or on-hold orders, they won’t appear. Expand the filter to show all relevant statuses.
Still stuck? Email odoo-support@zehntech.com. Your 90-day free support includes configuration help and troubleshooting.
From setup to manufacturing Gantt scheduling
You have now moved from spreadsheet-based scheduling to a real-time Gantt inside Odoo, in under 10 minutes.
The next steps:
- Import your full production schedule (all manufacturing orders for the next 1–2 months)
- Configure dependencies if you have jobs that depend on each other (e.g., assembly requires sub-component completion first)
- Train your production team on the Gantt view (most teams are comfortable within 30 minutes because drag-and-drop is intuitive)
From that point, your production planning happens on the Gantt. Rescheduling takes 30 seconds instead of 2 hours. Also, you see capacity overloads before they cause delays.
Working on Odoo?
Talk to the engineers who build Odoo systems and apps every day.