Export Salesforce Data with Ease through Salesforce Data Loader
In this post, we show how to export Salesforce data from Data Loader. We also cover the difference between export and export all, which are both in Data Loader.
Everyone who works with Salesforce, such as an admin, developer, consultant or data analyst, uses the Salesforce Data Loader. It is a client application for large data imports and exports. For example, we can use it for basic data operations like:
- insert (put new data into Salesforce)
- update (update the existing data)
- delete (delete the extra data or data no longer needed)
- export Salesforce records (export data in CSV file format)
Data Types Supported by Salesforce Data Loader
Boolean
- True values (case insensitive) = yes, y, true, on, 1
- False values (case insensitive) = no, n, false, off, 0
Salesforce ID
A record in Salesforce is uniquely identified by a 15- or 18-character alphanumeric string (String that contains alphabet from a-z, A-Z, and some numbers from 0-9) is called a Salesforce ID.
Date Formats
Enter dates in the format yyyy-MM-dd. THH:mm:ss.SSS+/-HH mm:
- The four-digit year is yyyy.
- MM stands for the month with two digits (01-12)
- The day is denoted by the letter dd (01-31)
- The hour is abbreviated as HH (00-23)
- Minutes are shown by the symbol mm (00-59)
- The seconds are denoted by ss (00-59)
- The milliseconds are referred to as SSS (000-999)
- +/-HH: The Zulu (UTC) time zone offset is mm.
- (But in that case, we always use GMT Standards)
Example of Date Format
2022-07-02T002:00:007 GMT (This way, we can type the Date Format).
String:
Double: Double String
Integer: Integer String.
Import and Export Salesforce Data Directly from Multiple Repositories
To make the setup process of services and networks to be monitored eMeanwhile, Using Salesforce Data Loader, all team members can export and import data from SFTP, Dropbox, FTP, etc. asier and faster, Zabbix has created and included templates. Zabbix offers templates for IMAP, FTP, HTTP, HTTPS, LDAP, NNTP, MySQL, SMTP, POP, SSH, and Telnet.
Support for Windows and Mac
This feature helps when a company switches from Windows to MAC. Also, Data Loader makes the change easy, so nobody has to worry about Data Loader support.
How to Export Salesforce Data Using Data Loader
Follow these eight steps to export Salesforce data with Data Loader.
Step 1 First, we download the Data Loader from the Salesforce account.
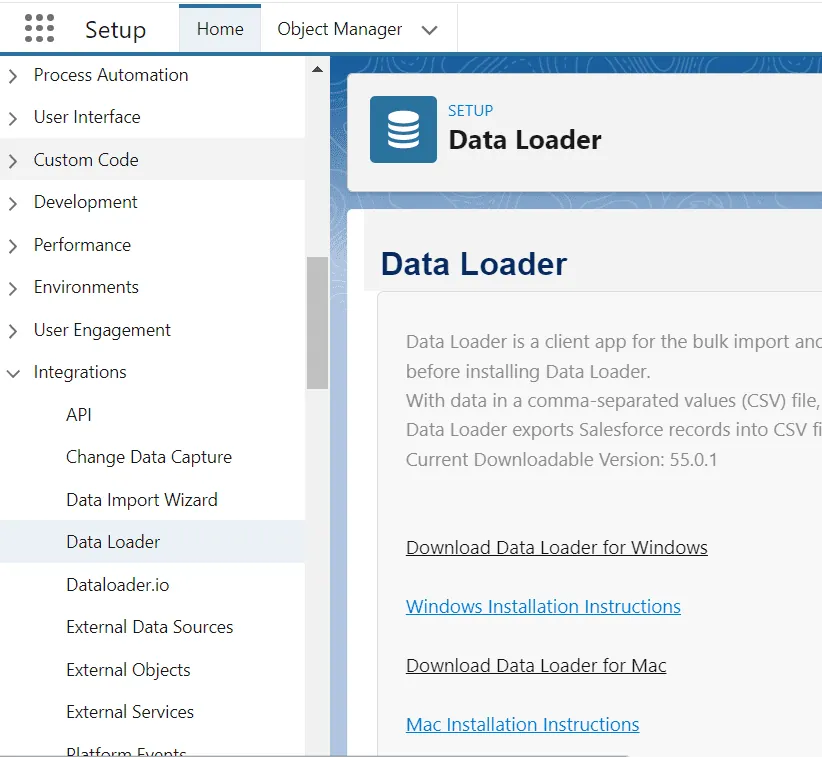
For Windows: Click on (Download Data Loader for windows).
For MAC: Click on (Download Data Loader for MAC).
Install Zulu JDK
Step 2 Now, download an application called Zulu (Azul) and install it on your device.
Go to any web browser and download ZULU jdk.
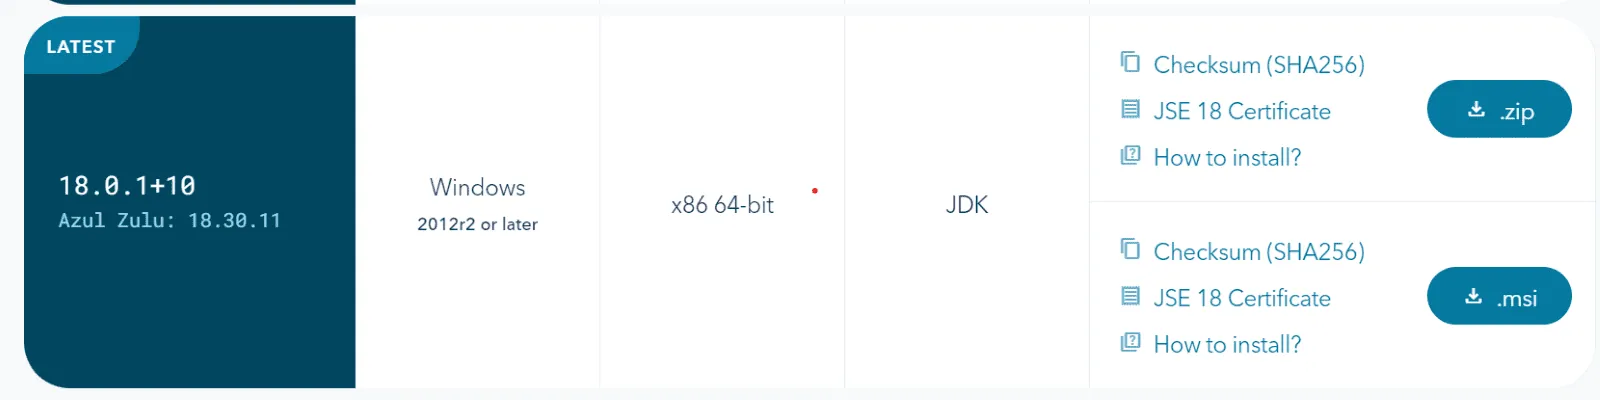
Here you download a .msi file.
Open Data Loader and Log In
Step 3 Open the Data Loader that you downloaded from Salesforce.
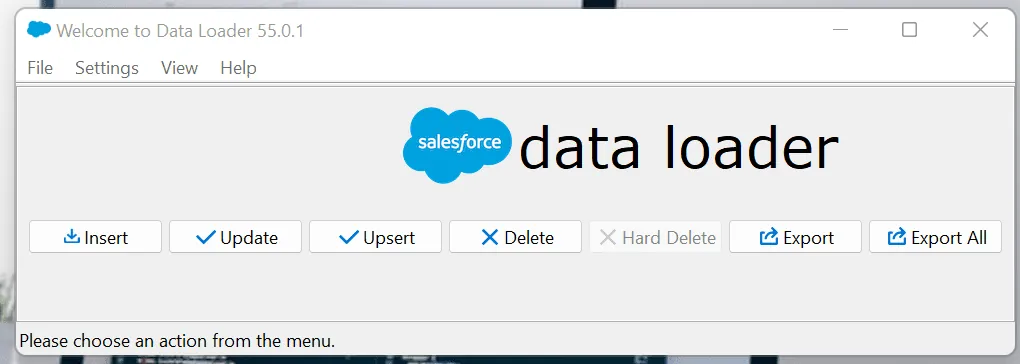
You then see the Data Loader application.
Step 4 Select Export there. A new window opens. Then log in with your Salesforce ID and password.
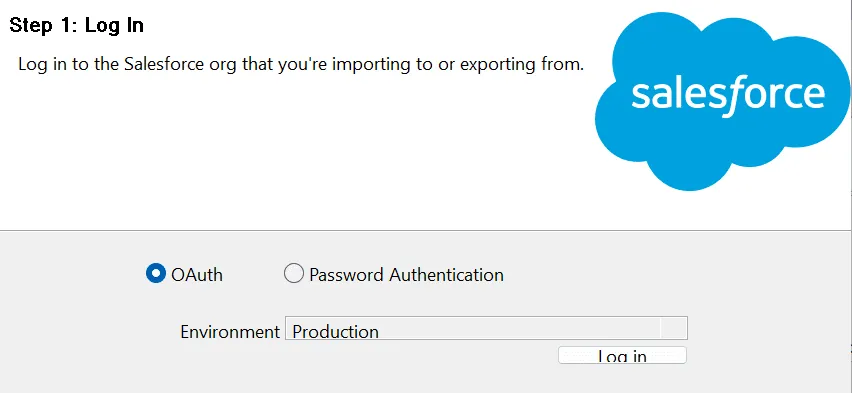
Click to log in here.
After that, a login screen pops up. Enter your username and password and click login. Then allow access from your ID.
Step 5 After login, you must see the next button highlighted to move forward.
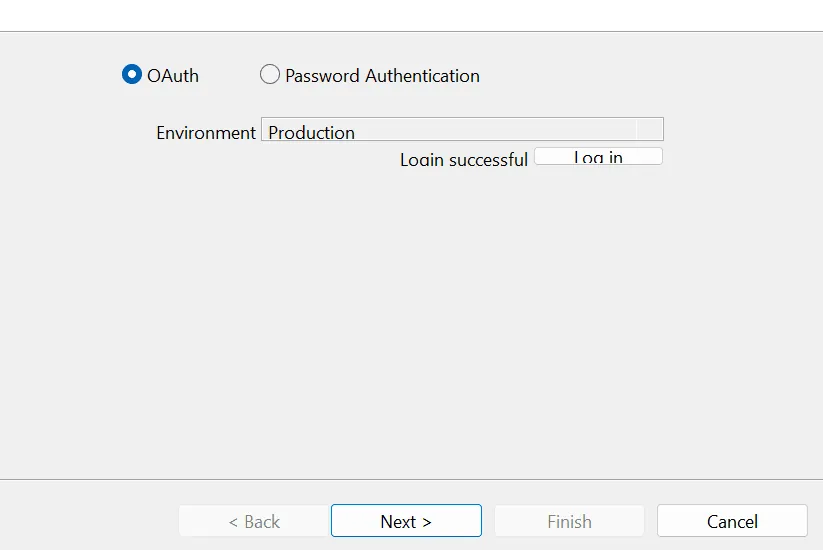
Click on Next.
Choose the Object and Query to Export Salesforce Data
Step 6 First, select your object. You can select only one object at a time.
Next, choose your target for extraction, which is where you save the exported file on your system.
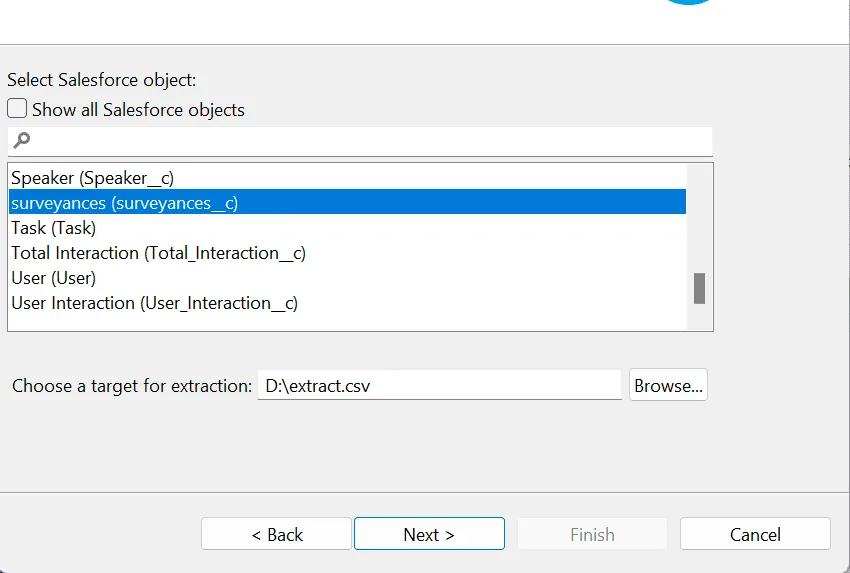
Click on next.
Step 7 Here, you can edit your Query (Edit the SOQL query for extraction),
In that, you select your field for which you want to export the record, and also select all the fields by the select all field option.
Also, you can add a condition for the field you get data from (equal, not equals, less than, greater than, less than or equal, greater than or equal).
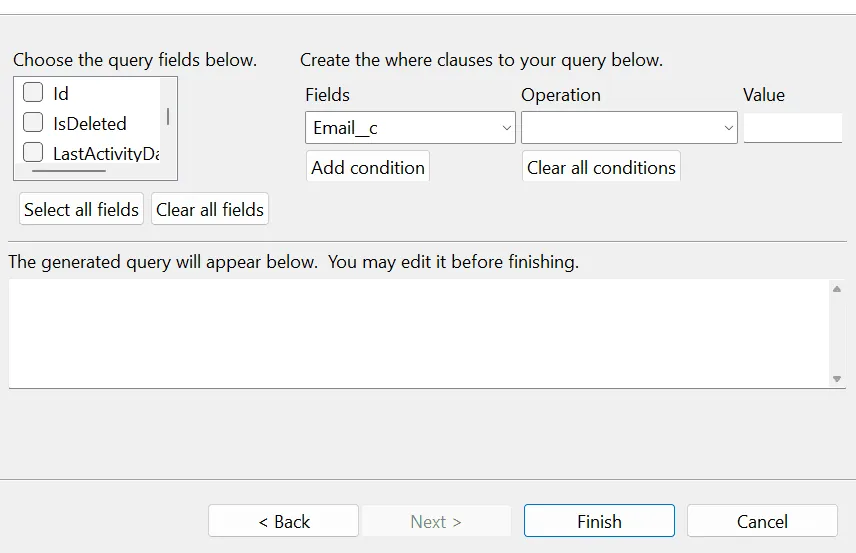
After all required fields and conditions, click on Finish.
Now click yes to start the export.
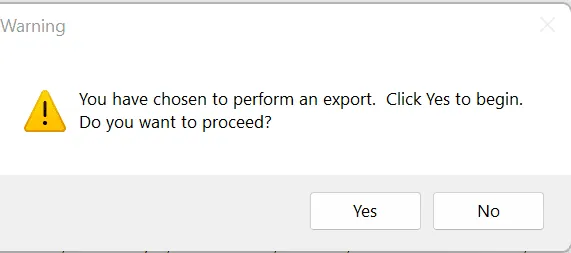
Click on Yes.
Step 8 Now the process is complete. A new pop-up tab shows that your operation is finished.
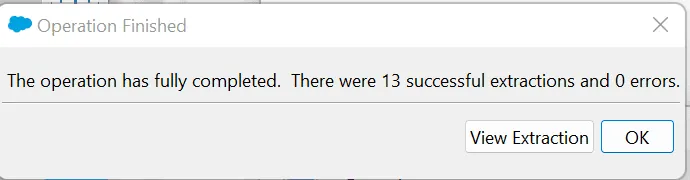
Click on OK.
As you wish, you can view the data in the same place by clicking on extraction. Otherwise, click ok and open the folder you chose in step 6.
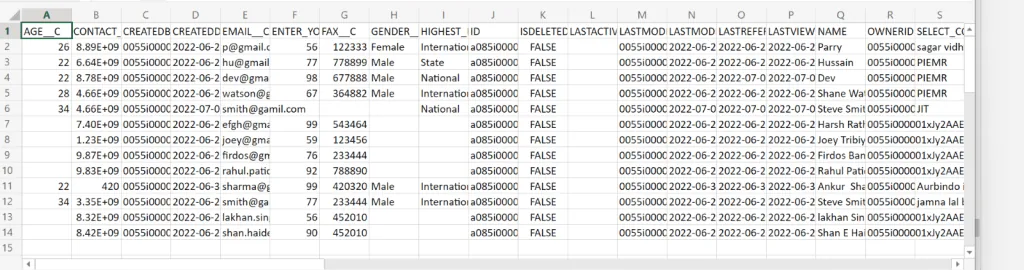
Here you can see your data in Excel.
Limits When You Export Salesforce Data
-
Authentication – Password + Security Token.
-
Installable – Non Cloud (Mac or Windows).
-
Support all Objects.
-
Upload limit 50 K.
-
One-to-one Mapping (1-1).
-
On-demand upload.
-
Log on local Machine.
-
Only (CSV) format.
-
Free Sofware.
-
No Schedule Export.
Conclusion
To sum up, we saw how to export Salesforce data with Data Loader. This post helps you get to know the basic functions of Data Loader. We also covered its limits and the technical points. If you need help with Salesforce data work, see our custom software services.
Have a question about this?
Book a 30-minute call with an engineer who works on it.